Kill It with a Skillet

Cobbler & Steaks Cast Iron Skillet“Killer cobbler and perfectly seared steaks – two easy ways to create memorable dishes this summer in your cast iron skillet.”

imageThis summer my cast iron skillet has become such a go-to tool that it seems to reside permanently upon by cook-top. In spite of its small cost – for many tasks it outperforms much more costly cabinet rivals – think Le Crueset and All Clad. The beauty of cast iron is that it distributes heat evenly and for charring you can get the surface white hot with no danger of ruining your food or the pan. It’s also highly versatile. In this post I hope to tackle two uses which are markedly distinct –  Pan Searing Meat (achieving a great charred crust with out the hassle of heating up your grill) and Cooking Cobbler (using a wonderful heirloom recipe from Virginia Williis). But first let’s start with the pan. I prefer The Lodge 12″ Version – it is big enough for multiple steaks and deep enough to fry chicken. Lodge Skillets come factory seasoned – so upon purchase they are ready to go. Plus I love that all of the 100+ year old company’s products are made in their Tennessee foundry.

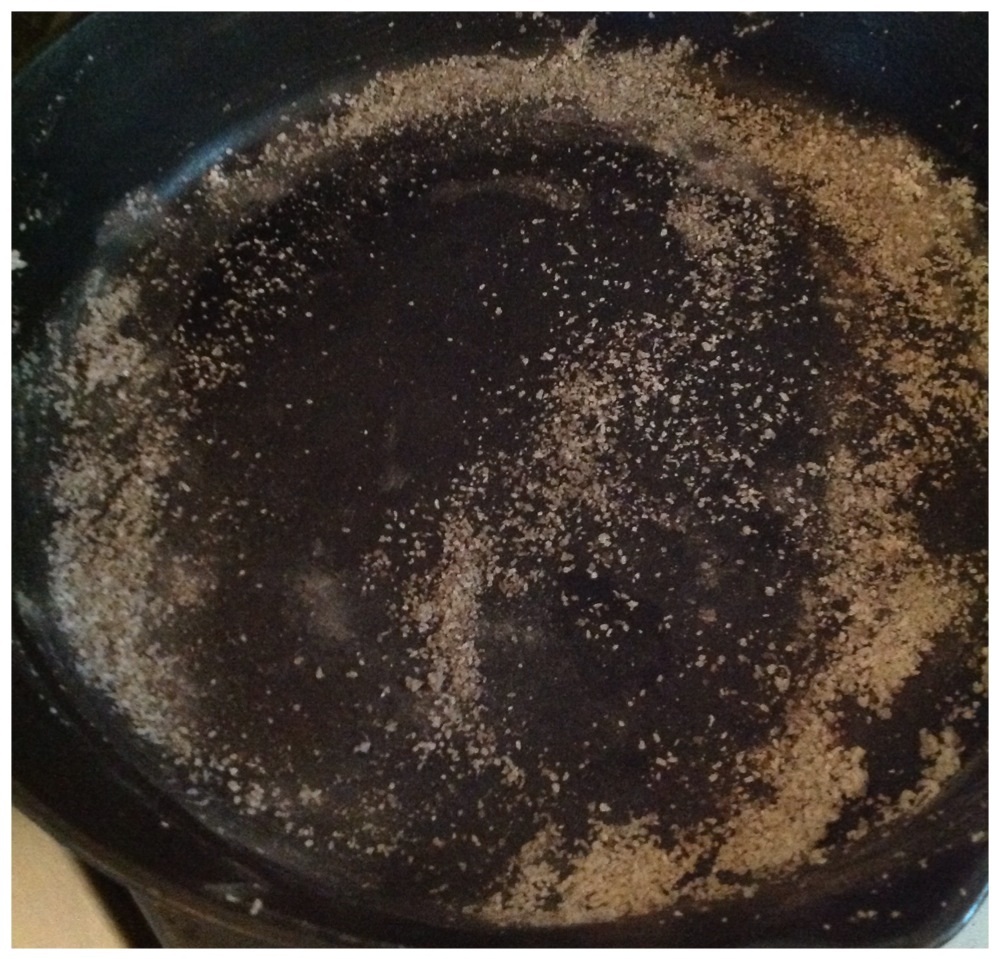
Cast iron gets better with age – as the pan further “seasons” after each use. This helps build flavor and also create a non-stick surface. A key thing to remember is that these pans should never go in the dishwasher – in fact I prefer not to use soap when cleaning mine. I simply fill the pan with water – bring it back to a boil –  use a plastic spatula to scrape away bits – and then rinse.  You can also use kosher salt as an abrasive to help scrub away stubborn spots. After rinsing I return the pan to the stove to get hot again – this helps evaporate water and prevent rusting. And finally before putting my skillet away I rub the surface with just a tiny amount of vegetable oil.

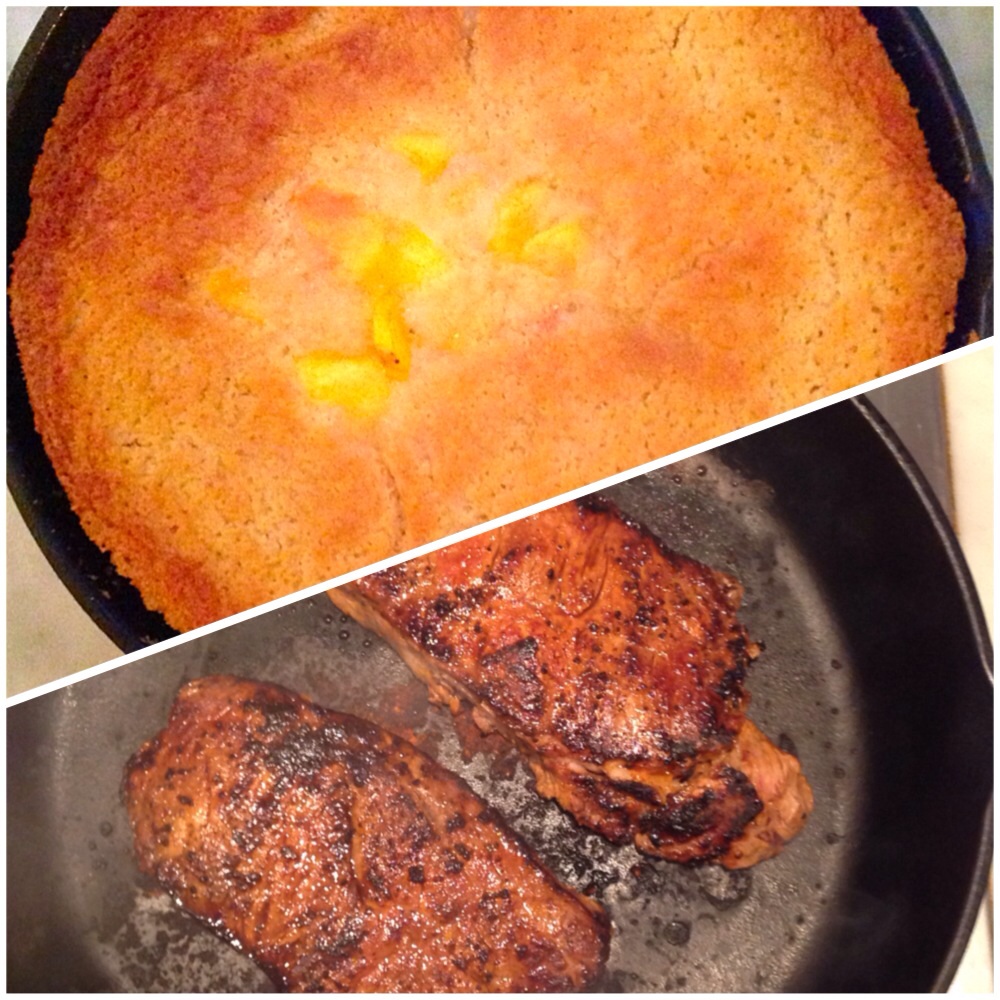
Now onto the food . . .First up – how to use your skillet to perfectly sear meat

Flawless Pan Seared Ribeyes (or Burgers)

Ribeye Pan Seared TechniquesFor dinner parties at The Richmond you will often see multiple skillets going simultaneously.  I love to use this technique for ribeyes and it is also great burgers.  First select your meat – remove it from the refrigerator and place it on a cutting board.  Give it a very light coat of vegetable oil or lightly coat with a non-stick cooking spray like Pam.  Season the meat generously on all sides with salt and pepper and let it return to room temperature.  Meanwhile place your cast iron skillet over high heat for 15 to 20 minutes – or until the surface seems white hot.  The pan should be so hot that it almost scares you.  Place the meat on the skillet.  For 1 1/2 ” ribeyes sear them untouched for 3 minutes and then turn them to sear for 3 minutes more on the other side. Use a timer, be strict and you will end up with a perfect medium rare steak with a warm red center. Obviously you can adjust the cooking time up or down for more rare or well done temperatures or for thinner/thicker cuts. For burgers form 1 1/2 inch patties and cook 2 1/2 minutes per side for medium rare. To add a more decadent flavor – melt a few tablespoons of butter in the pan after you have removed the meat and the pan has cooled very slightly (you still want it hot enough to brown the butter). Return the meat to the pan for a quick coat on both sides before serving.

image

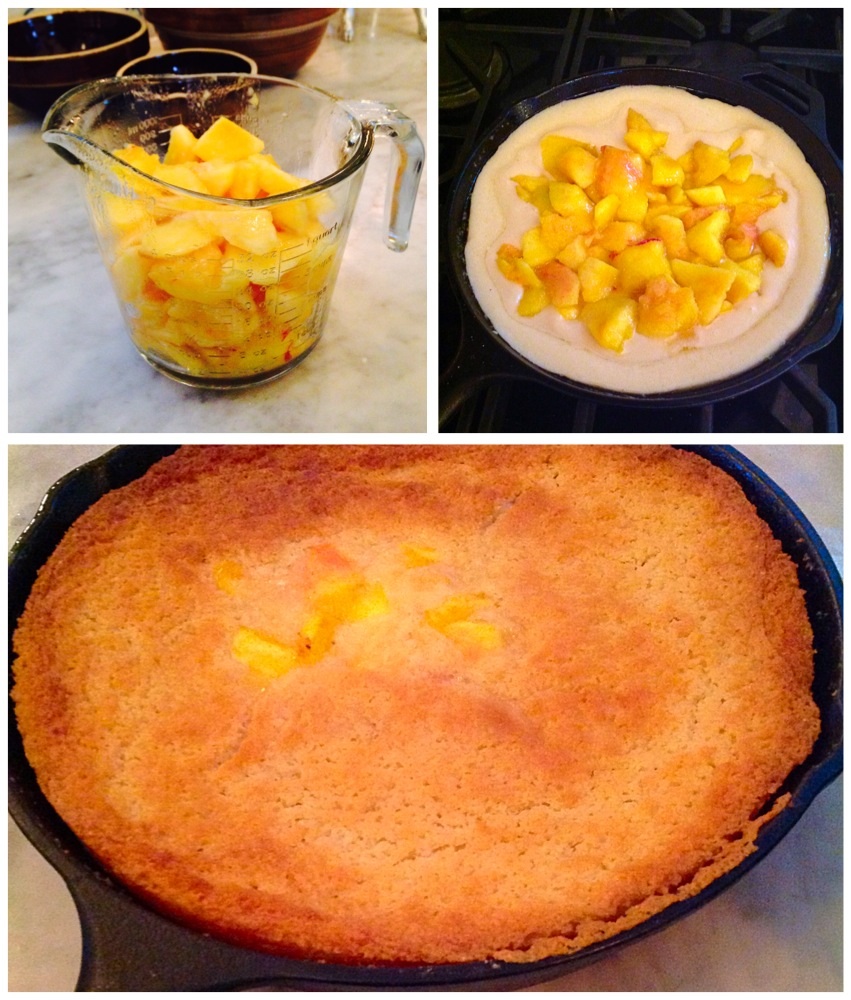
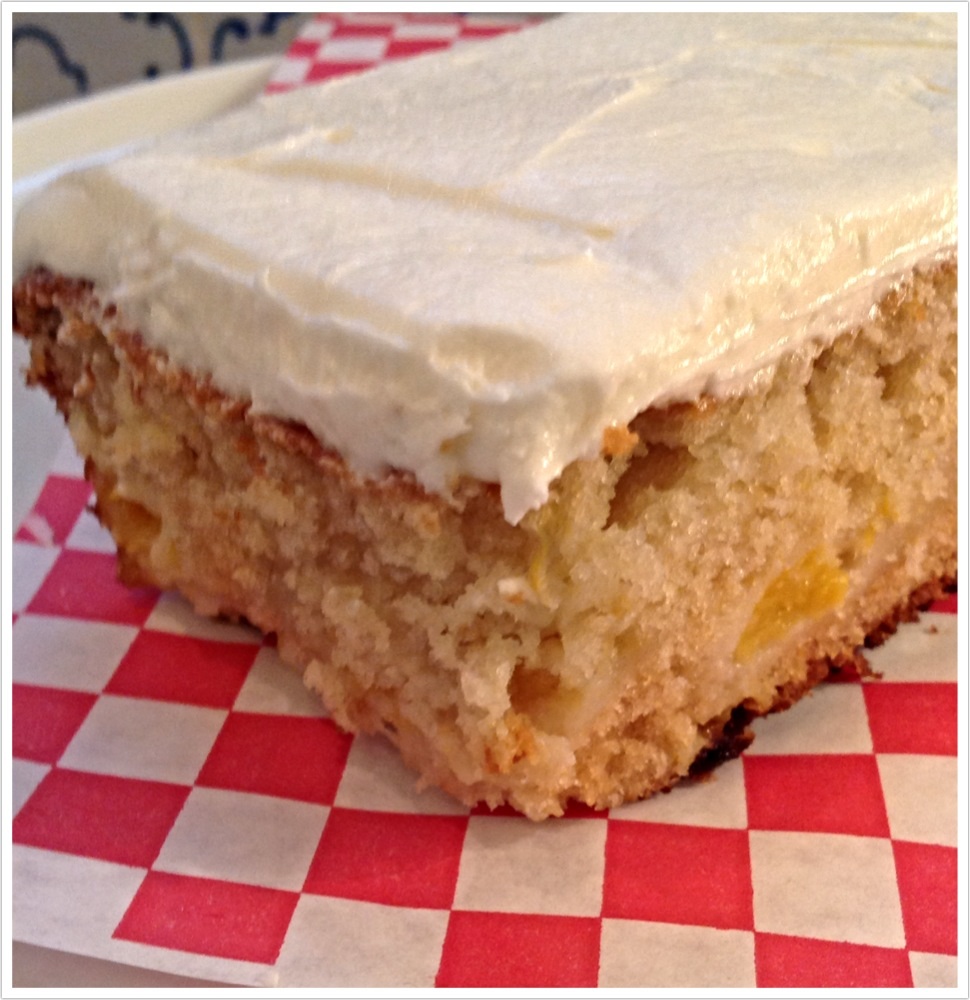
And now for the cobbler . . . . I am a huge fan of Virginia Willis’ cookbook – Bon Appetit Y’all. It is a perennial best seller at our store – space519. A classically trained chef, Willis recounts heirloom recipes from her Southern Family and tweaks them slightly with modern techniques. What I love about her cobbler is its simplicity – one bowl for mixing and a skillet for baking and serving. The cast iron creates a perfectly browned crust. Plus the whole thing comes together in minutes. The final dish has a showstopping presentation and wonderful flavor. The ultimate summer comfort food. In her book she uses Blackberries – but I find any fresh fruit will do. It is especially good with fresh peaches. The recipe follows:

Continue reading

Eggplant Parm MANIA!

Eggplant Parm Parmesean The Little Owl Fresh Mozzarella Fontina Cheese“After lots of trial and error, research and advice – my Eggplant Parm might even make an Italian grandmother proud (or at least impress my Italian friends from Staten Island).”

imageI’m not Italian (I’m a WASP from Colorado). To me gravy is what you put on potatoes (not pasta). And when it comes right down to it I don’t really even like eggplant that much (like okra it seems there are more bad preparations than good). So it is hard to explain my recent obsession with Eggplant Parmesan. I seriously crave it and need a regular fix. It all began about a year ago when my Italian American friend Rosemary Bitetti came over with her daughter Amanda Puck to educate me about her technique. Like many modern day prophets she sat in her chair, drank vodka, wagged her finger a lot, and told me and Amanda exactly what to do. The end product was “perfecto” and after a couple more batches on my own I think I have it down.

A few key takeaways – slice your eggplant thin – about a quarter inch works best. A 50/50 mixture of Fontina and Mozzarella cheese gives the final product a more complex flavor and a 50/50 mixture of Italian and Panko breadcrumbs delivers the most crisp AND flavorful coating. Fry the breaded eggplant pieces quickly over a high heat so they don’t absorb too much oil. When I am done frying I put all the slices on baking sheets in a hot oven to dry them out just a bit more. And finally, Eggplant Parm is all about the GRAVY. Adapting a recipe from the Little Owl in NYC – I now have a go to Marinara which is super versatile. I like to top mine with thin slices of Buffalo Mozzarella a la a great Margarita Pizza. The recipe for the eggplant and the sauce follow below. Give them a spin and report back. And if you know any old Italian ladies have them give it a taste – just don’t tell them the recipe comes from a gay yuppie in Chicago. Continue reading

Asparagus Ricotta-Gruyëre Tarts

Asparagus Ricotta Gruyëre Tarts Lance Lawson“Although these bite-size crustless tarts are easy to make – they are certain to create a big impression with your guests.”

tarts in panThe bite-size tarts are delicious addition to any large or small gathering.  And because they are crustless they come together quickly. I make them by the dozens and keep a ready supply on hand in the freezer for parties or unexpected guests. I developed this recipe because I was looking an hors d’oeuvre which I could easily make in bulk (scooping batter into mini-muffin tins is way preferable to hand assembling dozens of individual pieces). And I was looking for a cocktail snack which would also freeze and reheat well (they stay moist and stand up beautifully). Mini-quiches have become somewhat passe thanks to the frozen foods section at Trader Joe’s – so these tiny tarts offer a gourmet alternative. To further boost the flavor I use fresh ricotta (which I strain overnight in the fridge) and a hearty fresh grated gruyere vs the pre-shredded swiss variety. And you can also use this recipe for larger tarts – which would be a chic addition to a light lunch menu. To make a dozen follow the recipe below, substituting standard size muffin pans and increasing the baking time to 35 minutes. For the recipe: Continue reading

¡Chilaquiles!


Chiliqueues Montage“A Mexican breakfast dish which cures most ailments.”

imageAs friends and frequent readers know, I grew up around a lot of Mexican food during my childhood in Colorado. For people from the Western states Mexican food is an obsession. And mine has been further fueled by a decade plus of trips to visit my parents who now live in Santa Fe. At my house Southwestern flavors are a central part of entertaining and everyday menus. That being said I am not sure when I first started making Chilaquiles – a mexican breakfast dish centered around chilies, corn tortillas and scrambled eggs. Unlike most Southwestern food I like to cook, the recipe or idea did not come from my family or one of the Mexican restaurants where I worked during high school. Instead it came from trips to Mexico, where the dish was a culinary godsend for nights spent drinking too many Cheladas with tequila chasers. Chilaquiles are the ultimate hangover helper and breakfast comfort food. Accordingly, through the years I have made the dish at vacations rentals in Mexico and for overnight guests at The Richmond. We even served it a 1:00 am at Jimmy’s 40th Birthday Party to sober up the troops and keep the festivities going.

The central ingredients in all Chilaquiles are pieces of corn tortillas mixed with scrambled eggs. Variations add chilies, cheese, different sauces, and chorizo or pulled chicken. The dish is generally served one of two ways. The first is as scramble where all of the ingredients are loosely combined in a skillet. The other is as a casserole where ingredients are layered and baked. My recipe goes the second route. It makes it easier for large groups and I love the almost polenta like consistency which comes from the time in the oven. After many ad hoc preparations through the years, what follows is a well tested measured version which consistently hits the mark. I like to serve it with an easy pico de gillo which I combine while the dish is in the oven. That recipe is also included below.

Continue reading

The Perfect Summer Cake

peach cake“a simple white cake, made with fresh peaches, just in time for summer”

peachesOvercome by the smell of fresh peaches at the market this week, I decided to take home a half dozen and work out a new dessert. Usually Chef Virginia Willis’ cobbler recipe (“Meme’s Cobbler,” Bon Appetit Y’all, 10 Speed Press) is my go to for any fresh summer fruit.  But recently while traveling I had an really fantastic peach cake. It was very light, not to sweet, and through it’s simplicity it let the flavor of the fresh peaches shine. That dessert was front of mind when I began work. I started with a basic white cake recipe and integrated peaches, cut into medium sized chunks, and all of the residual juice and pulp. In the oven the cake rose terrifically, creating the light and airily effect I was looking for. Plus cake was super moist – with an almost pudding like consistency. I finished the dessert with a very simple white butter cream frosting and I served it slightly warm with vanilla ice cream.  A huge hit.

The recipe follows: Continue reading

Bake This: Italian Olive Oil Cake

olive oil cake“pignoli, olive oil, and polenta give this cake its special twist”

cake sliceEarlier this month I hosted some friends and family at The Richmond to collaborate and cook an Italian Sunday supper. We made some terrific traditional Italian dishes like Eggplant Parmesan and Homemade Meatballs with our own sauce (or “gravy” to my east coast readers). With such a heavy menu, I wanted to end the meal with something a bit lighter. I also wanted to stick with the Italian theme. My mind went back to an olive oil cake, served with vanilla gelato, which I recently enjoyed a local restaurant. I loved the complex flavor and texture of the dessert.  However, a first pass for a recipe in some favorite Italian cookbooks came up dry. So I began to do some research on-line about Olive Oil Cakes and there I found and sorted through dozens of recipes.

Popular in Italy, this style of cake has true Mediterranean origins.  It makes sense that this cake would come from a region where olive oil is so plentiful.  In Northern Italy the cake is a staple in small coffee shops – often paired with an  espresso as a mid-afternoon snack.  Many of the recipes I came across utilized orange as a key flavor – introducing liquor, candied orange rinds or orange zest into the recipe.  I am not a fan of orange flavored desserts so I decided to use lemon zest and vanilla extract to flavor my cake.  I also liked the how some of the recipes included corn meal (or polenta) to give the cake a bit more texture.  I felt this would provide a solid balance to the silky smoothness of the olive oil.  Finally, I added pine nuts as a topper – both to introduce another texture/flavor to the cake and because I love them.

My recipe was a success and the cake a crowd pleaser. Enjoy at room temperature, or warm it slightly and serve it with ice cream or gelato.  It  works equally well when served as a breakfast pastry, a snack or as the encore after a rich meal. (recipe follows)

Continue reading